
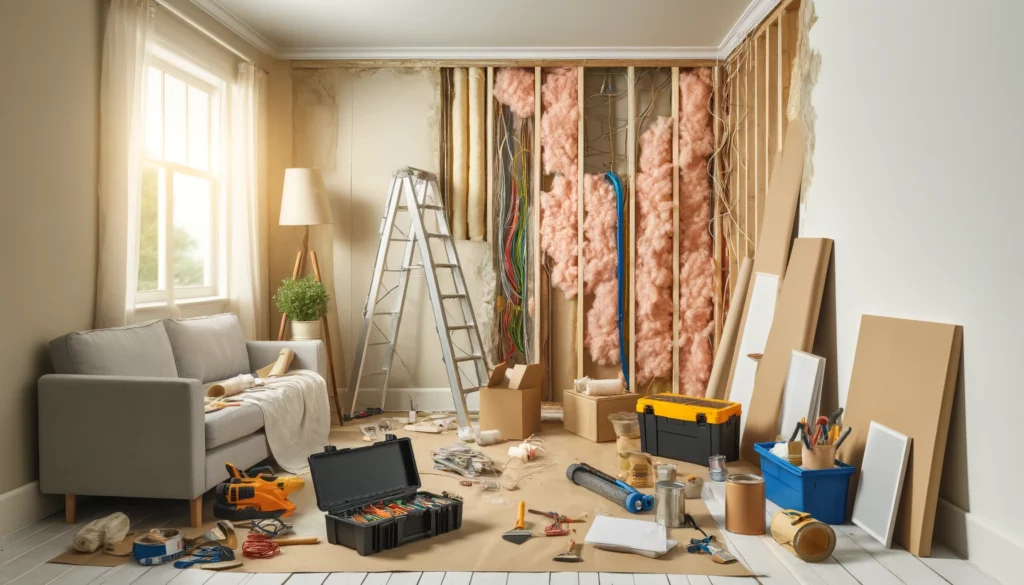
Thinking about giving your home a facelift? DIY home renovations are a fantastic way to breathe new life into your space without the hefty price tag of professional remodelling. With a little bit of effort and creativity, you can transform any room in your house. Here’s are some ideas of DIY home renovations you can try.
Paint Your Walls
A fresh coat of paint can work wonders. Whether you’re looking to brighten a room, add some modern flair, or completely change the feel of a space, new paint is your best friend. Start by choosing a color palette that reflects the mood you want to create. Light colors can make a room feel larger and more open, while darker shades add coziness and sophistication. Before you begin, prep your walls by cleaning them and filling any holes or cracks. Use painter’s tape to protect your trim and ceilings. Then, with a good quality roller and brush, apply your chosen color, allowing plenty of drying time between coats. The result? A transformed room with minimal investment.
Install New Lighting Fixtures
Lighting can significantly alter the ambiance of a room. Replacing old, outdated fixtures with modern, stylish ones can instantly update your space. Consider adding dimmer switches to control the brightness and create different moods. Begin by turning off the power to the room where you’ll be working. Remove the old fixture, following the manufacturer’s instructions for installing the new one. Make sure to secure all wiring correctly. If you’re not comfortable with electrical work, it’s wise to consult a professional. Once installed, you’ll be amazed at how a new lighting fixture can enhance your room’s look and feel.
Refinish Cabinets
Replacing kitchen or bathroom cabinets can be expensive, but refinishing them offers a cost-effective alternative that can give you the same new look. Start by removing all cabinet doors and hardware. Sand down the surfaces to remove the old finish, then clean them thoroughly to remove dust and grime. Depending on your desired finish, apply a fresh coat of paint or stain. If you’re painting, a primer is essential to ensure the new color adheres properly. After the paint or stain has dried, reattach the hardware and doors. This project can breathe new life into your cabinets and your entire room.
Add Crown Molding
Crown molding adds a touch of elegance and can make any room look more refined. It’s a relatively simple DIY project that packs a lot of visual punch. Measure the perimeter of your room to determine how much molding you’ll need. Cut the molding to fit, using a miter saw for the corners to ensure a seamless look. Secure the molding to the wall with a nail gun, filling any gaps with caulk and finishing with a coat of paint. The result is a sophisticated upgrade that enhances your room’s architecture.
Upgrade Hardware
Small details like door knobs, cabinet handles, and drawer pulls can have a big impact on the overall look of your home. Replacing outdated hardware with new, stylish options is a quick and easy way to refresh your space. Simply remove the old hardware, making sure to keep track of any screws or components. Choose hardware that complements your home’s style, whether it’s modern, rustic, or traditional. Install the new pieces, and enjoy the subtle yet significant boost to your home’s aesthetic.
Create a Feature Wall
A feature wall can serve as a stunning focal point in any room. Whether you choose to use paint, wallpaper, or wood paneling, this project allows for a lot of creativity. For a painted feature wall, choose a bold color that contrasts with the other walls in the room. If you prefer wallpaper, select a pattern that complements your décor. Wood paneling can add texture and warmth. Prepare the wall by cleaning and smoothing it, then apply your chosen material according to its specific instructions. A feature wall not only draws the eye but also adds depth and personality to your space.
Install a Backsplash
Adding a backsplash in your kitchen or bathroom is both a practical and decorative upgrade. It protects your walls from spills and splashes while adding a touch of style. Choose a material that suits your taste and budget, such as tile, glass, or peel-and-stick options for a quick and easy install. Start by measuring the area to determine how much material you need. If using tile, apply adhesive to the wall and press the tiles into place, using spacers to ensure even gaps. Once dry, apply grout to fill in the spaces. Peel-and-stick backsplashes are even simpler, just peel off the backing and press onto the wall. This project can be done in a weekend and instantly elevates the look of your kitchen or bathroom.
Conclusion
DIY home renovations can be incredibly rewarding, giving you the satisfaction of transforming your space with your own hands. Whether you’re painting walls, installing new lighting, or adding a feature wall, each project can significantly enhance the look and feel of your home. So roll up your sleeves, grab your tools, and start renovating!